A quick guide and recommendations for using Python venv from the perspective of a professional hacker.
The What & Why
Firstly, the definition for venv defined in Python’s own documentation is as follows:
“The venv module supports creating lightweight “virtual environments”, each with their own independent set of Python packages installed in their site directories. A virtual environment is created on top of an existing Python installation, known as the virtual environment’s “base” Python, and may optionally be isolated from the packages in the base environment, so only those explicitly installed in the virtual environment are available.”[1]
To put this in more simple terms for the layman, venv are created as stand alone [virtual] environments where only the packages you add to them will be there. This is to prevent packages that you may be getting from pip(3) from causing dependency issues from all sorts of different packages and programs.
I have personally had a VM that I borked so bad it was nearly unusable with Python packages because I had created so many discrepancies among the various packages. Between that issue and beginning my position as a professional pentester I needed to begin regularly using venv for every tool I use in my day-to-day.
Creating & Using Venv
This method was taught to me by one of our senior pentesters so shout out to Chris for standardizing this practice for me.
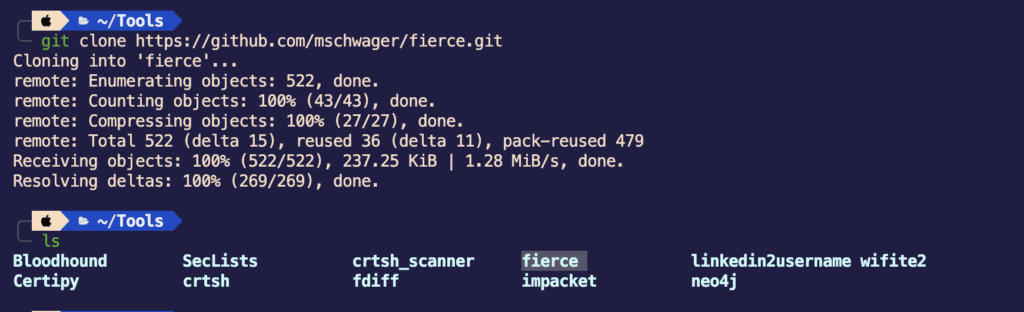
For this example we’re going to install fierce – a DNS reconnaissance tool build in Python. Obviously, this process will work with any Python tool you want to install.
- We like the practice of creating a directory in $HOME named “Tools” in which we will place our Python tools and others. Within this directory clone your desired github repository using git clone.
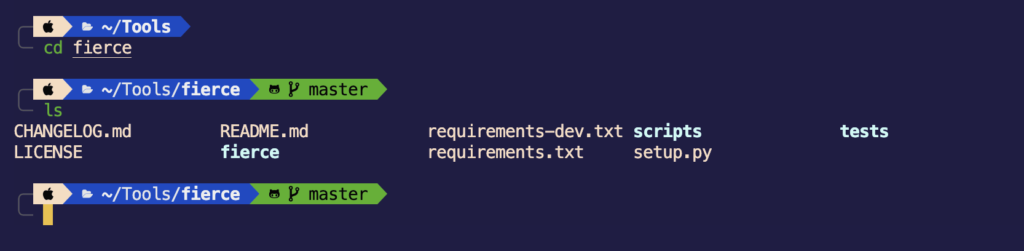
- Cd into your repository’s directory.
- We will then create the venv with the following command:
python3 -m venv venv
What this is doing is telling Python to create a virtual environment (venv) called “venv”. You could change the name (second “venv” in this case) to anything you desire, though.
- Now that we have created the venv we need to “activate” it and then we’ll be ready to install our packages.
source venv/bin/activateWhere venv will be the name of your venv. In this case we went with venv as the name.

Depending on your terminal settings and customization you may notice on the right side of my screen my terminal will display that you are currently within the venv in fierce.
- From here, we can go ahead and install our packages and requirements for our tool and run it.
pip3 install -r requirements.txt

- Lastly, ensure when you are done with your tool to
deactivateyour venv before moving onto your next tool and packages. We can also see that after we deactivate the venv the indicator on the right side of the screen has been removed confirming we are no longer within that venv.

In conclusion, I hope this write up will be able to help those like myself when I was just looking for a quick and concise how-to guide for Python virtual environments. Feel free to reach out to me with any questions or criticisms. Happy hacking!